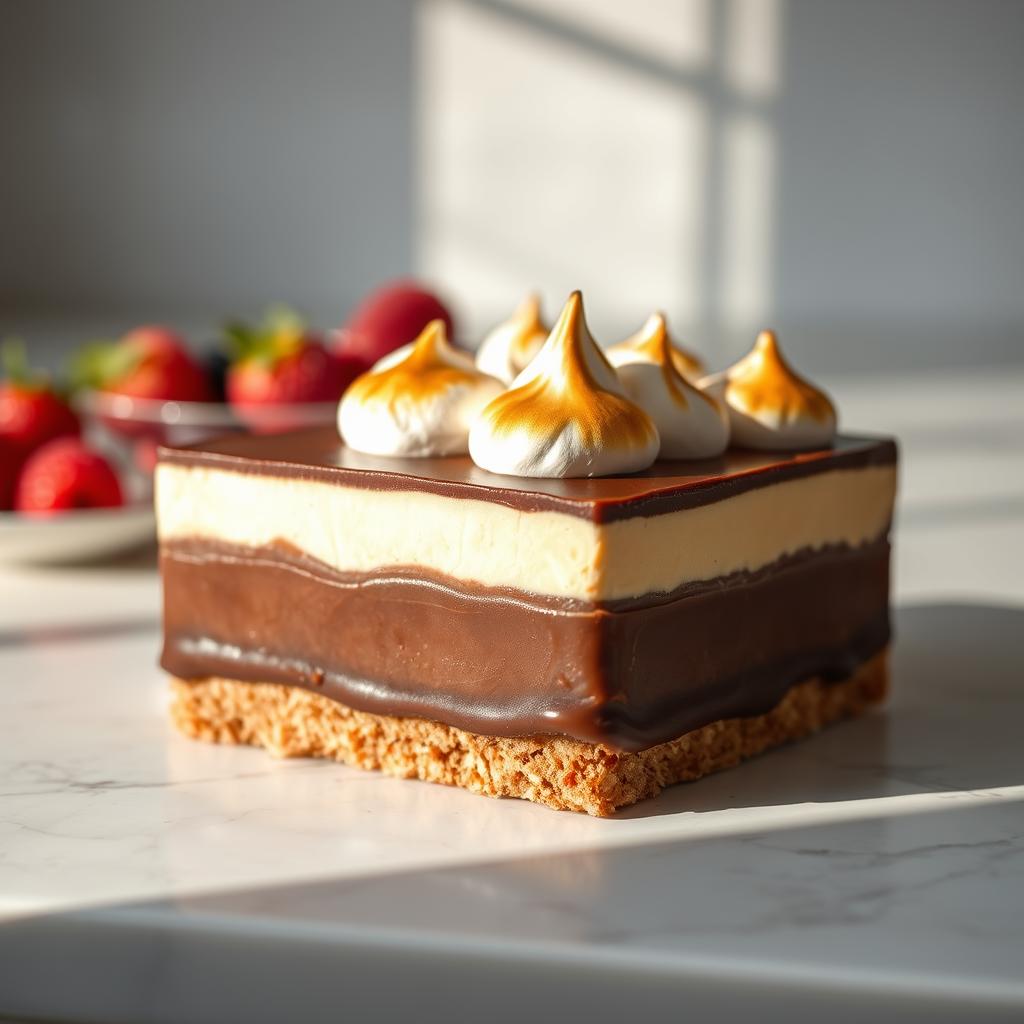
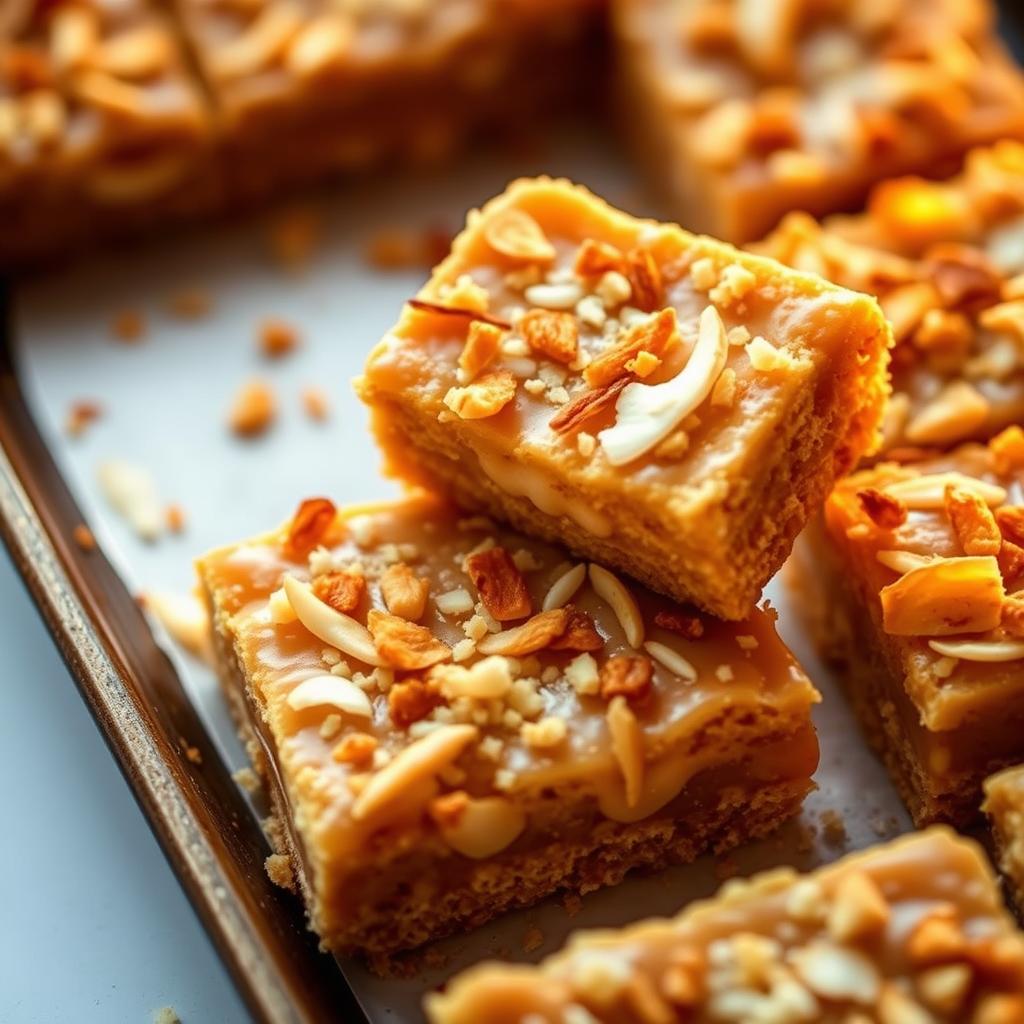
Looking for a simple yet irresistible dessert to satisfy your sweet tooth? These classic bars are the perfect treat for any occasion. With a graham cracker crust, layers of chocolate chips, shredded coconut, and a drizzle of sweetened condensed milk, they’re a crowd-pleaser every time.
This recipe is beginner-friendly and takes just about 10 minutes to prepare. After a quick bake in the oven, you’ll have a pan of gooey, golden bars ready to enjoy. Whether it’s a family gathering or a casual snack, these bars are versatile and always a hit.
In this article, we’ll guide you through the history, ingredients, and step-by-step process to make these delicious bars. You’ll also discover creative variations to customize the recipe to your taste. So, grab your ingredients and let’s get baking!
Key Takeaways
- Quick and easy dessert recipe with minimal prep time.
- Features a graham cracker crust and layers of chocolate and coconut.
- Perfect for beginners and versatile for any occasion.
- Includes detailed measurements and baking instructions.
- Offers creative variations to personalize the recipe.
Getting to Know Dolly Bars
Ever wondered about the story behind those gooey, layered treats? These bars have a fascinating history and a variety of regional nicknames. From “Hello Dolly Bars” to “magic cookies,” this dessert has captured hearts across the United States.

The Origins and Regional Nicknames
The origins of this dessert trace back to the mid-20th century. Its simplicity and versatility made it a hit in home kitchens nationwide. Depending on where you are, you might hear it called “seven-layer bars” or even “magic cookies.” A friend from Long Island once shared how her family always referred to them as “magic cookies” because of their irresistible charm.
Regional variations often include slight tweaks to the recipe. Some add extra chocolate chips, while others sprinkle in nuts for crunch. Despite the differences, the core ingredients—like graham cracker crust and sweetened condensed milk—remain the same.
Why This Classic Dessert Captivates Families
What makes this dessert a family favorite? It’s the perfect combination of simplicity and indulgence. With just a few minutes of prep time, you can create a treat that’s perfect for parties, potlucks, or even a cozy night in.
The recipe’s evolution over time has only added to its charm. Modern variations include swapping coconut for caramel or adding a drizzle of chocolate. Yet, the essence of this dessert—its gooey, layered goodness—stays constant.
Ready to dive deeper? In the next section, we’ll explore the essential tools and ingredients you’ll need to make these bars at home.
Essential Ingredients and Tools
Creating the perfect dessert starts with the right ingredients and tools. A well-made graham cracker crust forms the foundation of this classic treat. The combination of sweetened condensed milk, chocolate chips, nuts, and coconut creates layers of flavor and texture that are simply irresistible.

Understanding the Graham Cracker Crust and Butter Base
The crust is the backbone of this dessert. Start with 1½ cups of graham cracker crumbs. Quality graham crackers make a difference—crush them finely for a smooth base. Mix the crumbs with ½ cup of melted butter. The butter binds the crumbs, creating a firm yet crumbly texture.
Press the mixture evenly into a baking dish. This step ensures the crust bakes evenly and holds the layers above. A solid base is crucial for the perfect balance of crunch and chewiness.
Key Role of Sweetened Condensed Milk, Chocolate, Nuts, and Coconut
Sweetened condensed milk is the glue that holds everything together. Its rich, creamy texture binds the layers and adds sweetness. Pour a 14-ounce can evenly over the crust.
Next, add a generous layer of semisweet chocolate chips. The chocolate melts slightly during baking, creating gooey pockets of flavor. Sprinkle a mix of chopped nuts, like pecans or walnuts, for a satisfying crunch. Finally, top it off with shredded coconut for a hint of tropical sweetness.
| Ingredient | Measurement |
|---|---|
| Graham Cracker Crumbs | 1½ cups |
| Melted Butter | ½ cup |
| Sweetened Condensed Milk | 14-ounce can |
| Semisweet Chocolate Chips | 1 cup |
| Chopped Nuts | ½ cup |
| Shredded Coconut | 1 cup |
With these ingredients and tools, you’re ready to create a dessert that’s both simple and extraordinary. In the next section, we’ll guide you through the step-by-step process of assembling and baking this treat.
Dolly Bars Recipe Fundamentals
Ready to bake a dessert that’s both simple and indulgent? This recipe walks you through every step, from preheating the oven to layering the perfect toppings. Follow along for a treat that’s sure to impress.
Preparing the Crust and Preheating the Oven
Start by preheating your oven to 325°F. This ensures even baking and a golden finish. Next, prepare the graham cracker crust. Combine 1½ cups of finely crushed graham cracker crumbs with ½ cup of melted butter. Mix until the crumbs are evenly coated.
Press the mixture firmly into a 9×13-inch baking pan. Use the back of a spoon or your fingers to create an even layer. A well-pressed crust ensures the layers stay intact and bake evenly.
Layering Flavors: From Condensed Milk Drizzle to Topping Techniques
Once the crust is ready, it’s time to layer the ingredients. Begin by drizzling half of a 14-ounce can of sweetened condensed milk over the crust. This acts as the glue that holds everything together.
Next, sprinkle 1 cup of semisweet chocolate chips evenly across the pan. Add ½ cup of chopped nuts, like pecans or walnuts, for a satisfying crunch. Top it off with 1 cup of shredded coconut for a hint of sweetness.
Finish by drizzling the remaining condensed milk over the toppings. Gently press the layers into the crust to ensure they stick together during baking.
| Step | Action |
|---|---|
| 1 | Preheat oven to 325°F. |
| 2 | Mix graham cracker crumbs with melted butter. |
| 3 | Press mixture into a 9×13-inch pan. |
| 4 | Drizzle half the condensed milk over the crust. |
| 5 | Layer chocolate chips, nuts, and coconut. |
| 6 | Drizzle remaining condensed milk and press gently. |
Bake the bars for 25-30 minutes, or until the coconut topping turns golden brown. Let them cool completely before cutting into squares. For easier slicing, refrigerate the bars for an hour. Enjoy your homemade masterpiece!
Variations and Expert Tips for Customizing Your Bars
Want to put your own spin on a classic dessert? This recipe is incredibly versatile, allowing you to experiment with different flavors and textures. Whether you’re swapping ingredients or tweaking the baking process, these tips will help you create a treat that’s uniquely yours.
Ingredient Alternatives for a Personal Twist
One of the best ways to customize this dessert is by swapping out ingredients. For example, try using walnuts instead of pecans for a slightly different crunch. If you’re a fan of butterscotch, replace some of the chocolate chips with butterscotch chips for a sweet, caramel-like flavor.
For a nut-free version, skip the nuts altogether or use pretzels for a salty twist. You can also add extra shredded coconut on top for a toasted look. Mixing and matching different types of chocolate chips, like milk or dark, can also create unique flavor profiles.
Best Practices for Baking, Cooling, and Refrigerating
Proper baking and cooling techniques are key to achieving the perfect texture. Bake the bars until the coconut topping turns golden brown, usually around 25-30 minutes. After baking, let them cool at room temperature for about 30 minutes.
Refrigerating the bars for an hour before cutting ensures they set properly and makes slicing easier. Store them in an airtight container to maintain freshness for up to five days. These steps help prevent a gooey mess and keep the layers intact.
Even small changes, like adjusting the amount of condensed milk or experimenting with toppings, can make this dessert uniquely your own. Don’t be afraid to get creative and share your variations with friends and family!
Conclusion
There’s something magical about a dessert that’s both easy to make and universally loved. With a graham cracker crust, layers of chocolate chips, and a drizzle of sweetened condensed milk, this treat is a guaranteed crowd-pleaser. Whether you call it “Hello Dolly” or “magic cookies,” its charm lies in its simplicity and versatility.
From preheating the oven to layering the ingredients, this recipe is beginner-friendly and takes just minutes to prepare. The key is in the details—like using melted butter for the crust and refrigerating the bars for easy cutting. Experiment with variations like swapping nuts for pretzels or adding caramel for a personal twist.
Ready to bake? Gather your ingredients, follow the steps, and enjoy this classic dessert with family and friends. Don’t forget to share your creations and let us know how you made it your own!

