Imagine a dessert that combines the best of both worlds—vanilla blondies and chocolate brownies. Meet marble blondies, the ultimate chewy treat that brings together the creamy richness of a blondie and the deep flavor of a brownie in one delightful recipe.
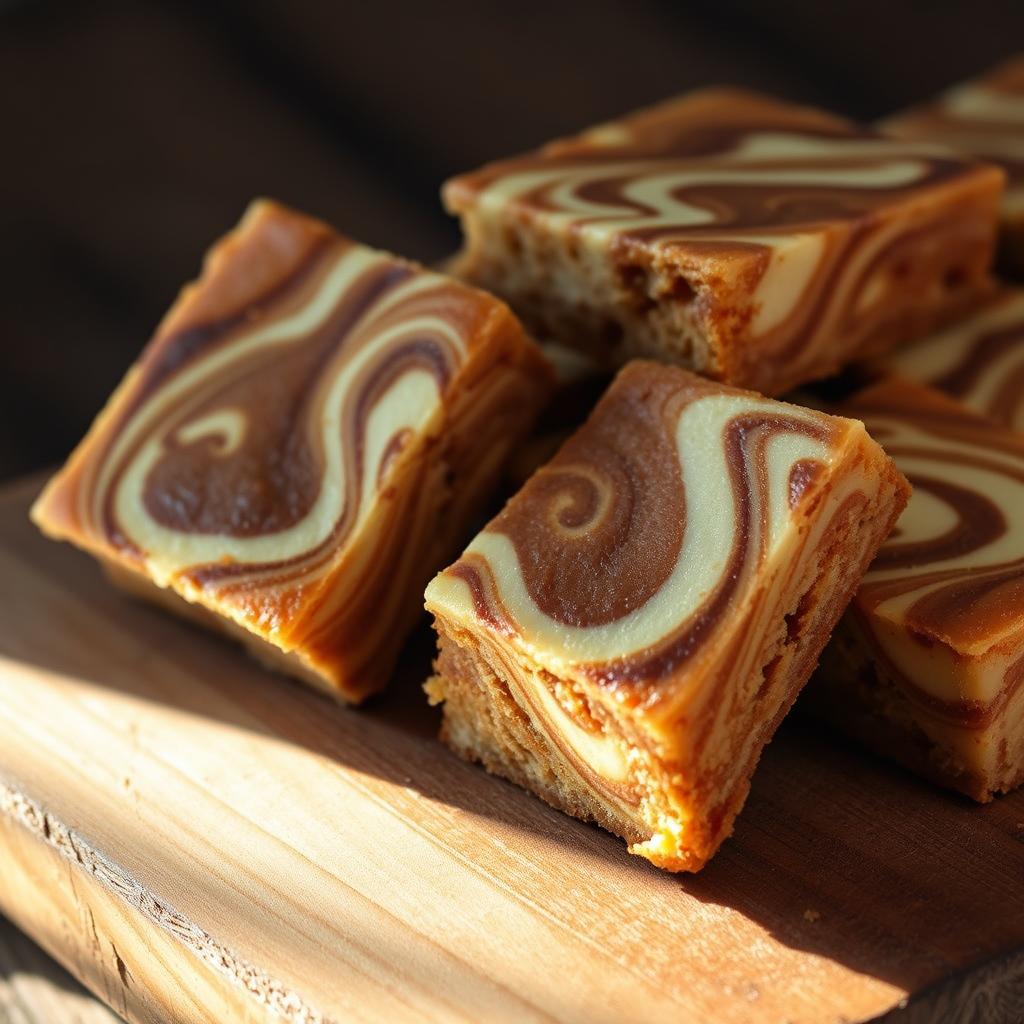
This unique dessert features a dual-batter composition, creating a beautiful marbled effect that’s as visually appealing as it is delicious. With a soft, fudgy center and slightly chewy edges, marble blondies offer a texture contrast that will leave you wanting more. Perfect for dessert lovers who can’t choose between blondies and brownies, this treat offers the best of both in every bite.
Quality ingredients like rich butter and decadent chocolate are essential for achieving the perfect flavor. The combination of these elements results in a treat that’s both nostalgic and indulgent, reminiscent of the fun Hannah Montana era.
Key Takeaways
- Marble blondies combine vanilla blondies and chocolate brownies for a unique treat.
- The dessert features a marbled effect with a fudgy center and chewy edges.
- Quality ingredients like butter and chocolate are crucial for the best flavor.
- Perfect for those who love both blondies and brownies.
- A nostalgic treat that brings fun and indulgence together.
Introduction & The Best of Both Worlds
Ever wondered how to satisfy both your blondie and brownie cravings in one go? Look no further! This recipe masterfully combines the buttery, vanilla sweetness of blondies with the rich, chocolatey depth of brownies, creating a treat that’s both familiar and exciting.
The magic lies in a simple yet clever dual-batter approach. One part is a classic blondie mixture, loaded with brown sugar for that caramel-like flavor and moisture. The other part is a dense, fudgy brownie batter, packed with dark chocolate. When layered and swirled together, these two batters create a marbled effect that’s as stunning as it is delicious.
Using a mix of brown and granulated sugar ensures a balanced flavor, while the precise measurement of each cup guarantees the perfect texture. The batter consistency is key—just a minute of proper mixing can make all the difference in achieving that chewy, fudgy center. Whether you’re a blondie fanatic or a brownie devotee, this recipe offers the best of both worlds in every single bite.
Marble Blondies: Insider Tips & Tricks
Creating the perfect marble blondies requires more than just a good recipe—it’s all about the techniques and tools you use. To master this treat, start by investing in the right tools. An offset spatula or the spine of a butter knife works wonders for swirling the batters together, creating that stunning marbled effect.
When it comes to chocolate, quality matters. Opt for high-quality semi-sweet chocolate chips to ensure a deep, rich flavor and a striking visual contrast. For an extra textural twist, try mixing in both milk and dark chocolate chips—they add a delightful surprise in every cookie-like bite.
| Tool | Purpose |
|---|---|
| Offset Spatula | Perfect for creating smooth, even swirls in the batter. |
| Butter Knife | Great for achieving a more rustic, hand-crafted marbled effect. |
| Rubber Spatula | Essential for gently folding the batters together without over-mixing. |
| Parchment-Lined Pan | Ensures easy removal and cleanup, preventing the blondies from sticking. |
Avoid over-blending the batters during the swirling process, as this can muddy the distinct layers. Instead, gently fold them just until you see a marbled pattern. Don’t be afraid to experiment—swapping out chocolate chips for a different variety or adding a sprinkle of sea salt can give your blondies a unique flair. With these insider tips, you’ll be well on your way to baking perfect, show-stopping marble blondies every time!
Ingredients and Essential Equipment
To create the perfect treat, you need the right ingredients and tools. Let’s break down what you’ll need:
Key Ingredients
- Flour: Essential for structure and texture.
- Baking Powder: Ensures the blondies rise lightly.
- Unsalted Butter: Adds richness and moisture.
- Cocoa Powder: Gives the brownie layer its deep flavor.
Must-Have Tools
- Bowl: Mix your batters to perfection.
- Offset Spatula: Creates beautiful swirls.
- Spatula: Gently folds ingredients together.
With these ingredients and tools, you’re set to bake a delicious treat that’s both chewy and flavorful!
Preparing the Dual Batters
Creating the perfect marble blondies starts with crafting two distinct batters that come together in harmony. Let’s break down how to make each batter and how they blend to create that magical marbled effect.
Blondie Batter Basics
The blondie batter is all about achieving a smooth, lump-free mixture. Start by whisking together melted butter, brown sugar, and granulated sugar until well combined. Add in eggs and a teaspoon of vanilla extract, mixing until the batter is creamy and uniform. This base provides the moisture and caramel-like flavor that blondies are known for.
Brownie Batter Enhancements
To transform part of the blondie batter into a rich brownie batter, stir in Dutch-process cocoa powder and an extra egg yolk. This adds depth and a fudgy texture. Melted chocolate enhances the chocolate flavor, making the brownie layer even more decadent. A teaspoon of cocoa powder is all you need to create a striking visual contrast between the two batters.
The blondie batter will be thicker and more robust, while the brownie batter will be slightly runnier, ensuring the best layered effect. By balancing the vanilla and chocolate flavors precisely, you achieve a dessert that’s both familiar and exciting.

Layering and Swirling for a Mesmerizing Marbled Effect
The art of creating a mesmerizing marbled effect lies in the layering and swirling techniques. These steps transform two simple batters into a visually stunning dessert that’s almost too beautiful to eat. Let’s dive into the process and explore how to achieve this eye-catching design.
Step-by-Step Layering Techniques
To begin, prepare your pan by lightly greasing it and lining it with parchment paper. This ensures easy removal and a clean finish. Next, scoop spoonfuls of each batter into the pan, alternating between the two to create a checkerboard pattern. Start with a layer of blondie batter, then add a dollop of brownie batter alongside it. Repeat this process, spreading the batters evenly across the pan.
Once the pan is filled, it’s time to create the marbled effect. Use an offset spatula or a butter knife to gently drag the batters in a swirling motion. Start from one end of the pan and work your way to the other, ensuring the swirls are smooth and even. Be careful not to overmix, as this can muddy the distinct layers and lose the marbled look.
Swirling Tools and Tips
The right tools make all the difference when it comes to swirling. An offset spatula is ideal for creating smooth, even swirls, while a butter knife offers a more rustic, handcrafted look. Whichever tool you choose, the key is to apply gentle pressure and move slowly, allowing the batters to blend naturally.
Temperature and time play crucial roles in achieving the perfect swirl. Ensure the batters are at room temperature before layering, as this helps them spread evenly. After swirling, let the batters settle for a few minutes before baking. This brief resting period allows the layers to meld together slightly, enhancing the marbled effect without losing definition.
Finally, resist the temptation to over-swirl. Too many passes with the spatula can blur the lines between the blondie and brownie batters, resulting in a muddy appearance. Instead, aim for a few gentle sweeps to create a striking, yet distinct, marbled design.
By following these layering and swirling techniques, you’ll create a dessert that’s as visually stunning as it is delicious. Remember, practice makes perfect, so don’t be discouraged if your first attempt doesn’t turn out exactly as expected. With time and a bit of patience, you’ll master the art of the marbled effect!
Baking to Perfection and Achieving a Chewy Texture
The journey to baking perfection begins with precision and patience. To ensure your bars turn out chewy and delicious, start by preheating your oven to 350°F (177°C). Placing the pan on the middle rack ensures even baking, which is crucial for achieving that perfect balance of crisp edges and a moist center.
Optimal Oven Settings and Baking Time
Bake the bars for 28 to 32 minutes. Keep an eye on them minute by minute after the 25-minute mark to avoid overcooking. The goal is a lightly golden top with a center that’s still slightly tender. This careful monitoring ensures the bars develop a perfect balance of textures.
Cooling and Slicing Strategies
Once baked, let the bars cool in the pan for about 10 minutes before transferring them to a cooling rack. Allowing them to cool completely ensures they retain their chewy texture. For clean, even slices, use a sharp knife to cut through the cooled bars. Remove the bars from the pan gently to avoid breaking and slice them into desired portions.

By following these steps, you’ll achieve perfectly baked, chewy bars every time. Patience is key, so let them bake just right before slicing to enjoy the best results.
Variations, Storage, and Serving Suggestions
Want to make your marble blondies even more special? Try these creative twists! Swap white chocolate chips for toasted nuts or add a dollop of Nutella for a unique flavor. You can also mix in both milk and dark chocolate chips for a delightful surprise in every bite.
Creative Recipe Twists
- Add extra chocolate chip varieties or nut butter for an innovative flavor profile.
- Swap white chocolate chips for toasted nuts or add a dollop of Nutella.
- Mix in both milk and dark chocolate chips for a delightful surprise.
Proper Storage for Longevity
Keep your blondies fresh by storing them in an airtight container at room temperature for up to 4 days. For longer preservation, wrap them tightly in plastic wrap and freeze for up to 3 months. Let them thaw at room temperature when you’re ready to enjoy.
For serving, pair your blondies with a scoop of ice cream or a sprinkle of sea salt. Encourage your readers to share their own variations and feedback in the comments or on social media. With these tips, you can enjoy your delicious blondies for days to come!
With this recipe, you’ll create a dessert that brings together the richness of brownies and the sweetness of blondies in perfect harmony. By following the step-by-step process, from preparing the batters to swirling and baking, you’ll achieve a treat that’s both visually stunning and irresistibly delicious.
The key to success lies in using high-quality ingredients like brown sugar, semi-sweet chocolate, and rich butter, which ensure the ideal flavor. Don’t forget to let your dessert cool completely before slicing it into perfect squares—this step is crucial for maintaining that chewy texture we all love.
Feel free to get creative with our tips and tricks, whether it’s adding nuts or experimenting with different types of chocolate. Your kitchen is your canvas, and this recipe is your guide to creating something truly special. Once you try it, we’d love to hear your thoughts—share your creations and feedback with us in the comments or on social media!